
CONTENTS
How to Frame Shed Walls
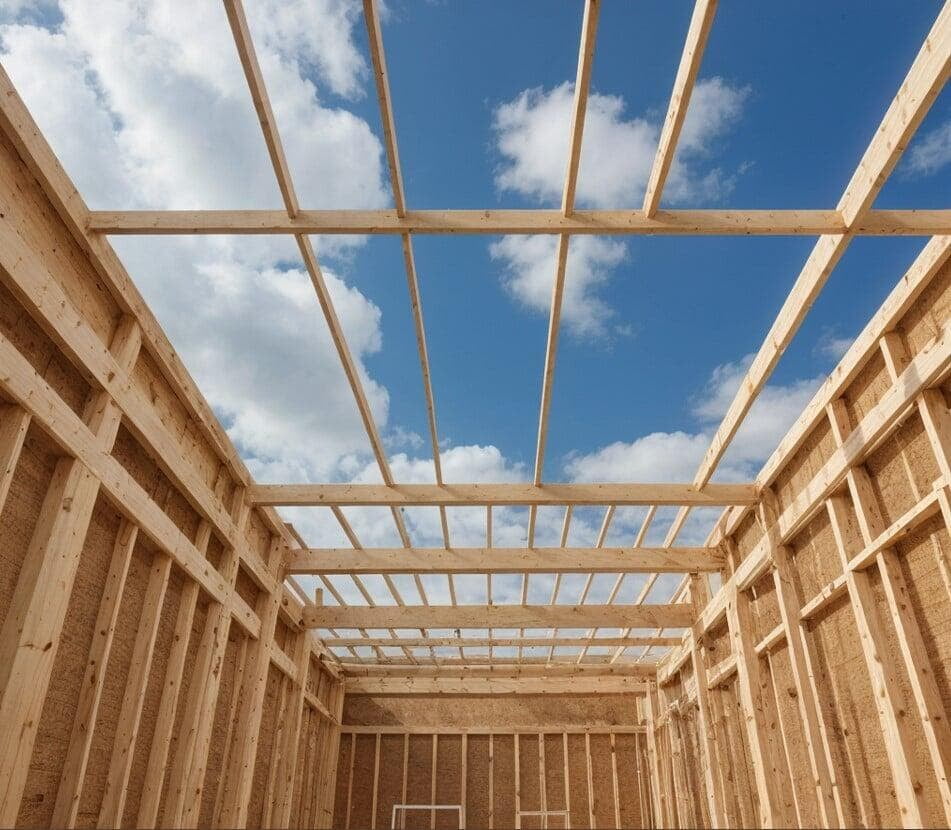
Constructing a shed starts with a strong foundation, which supports the shed floor. After the floor is laid, the next phase is to build the walls. Building the walls on the finished floor can streamline the construction process, allowing each wall to be built one at a time. This method ensures that the walls are accurately aligned and stable, contributing to the overall quality and durability of the shed
What You Need for Shed Wall Construction
What You Need for Shed Wall Construction
Building a shed wall frame requires several tools and materials to ensure a sturdy and durable construction. Here’s a comprehensive list of tools and materials you’ll typically need:
Tools
- Tape Measure - Essential for precise measurements.
- Circular Saw - For cutting lumber to the required lengths.
- Level - To ensure your frames are perfectly horizontal and vertical.
- Carpenter's Square - To check for squareness of the frame corners.
- Chalk Line - To mark long, straight lines on the lumber for cutting or aligning.
- Hammer - For driving nails into the wood.
- Nail Gun (optional) - Speeds up the nailing process.
- Drill - With drill bits for making pilot holes.
- Screwdriver or Impact Driver - For driving screws.
- Utility Knife - For cutting miscellaneous materials like house wrap or shims.
- Saw Horses - To support wood while cutting.
- Pry Bar - Useful for adjusting boards or removing nails.
Materials
- Lumber - Typically 2x4 or 2x6, depending on the design and load requirements.
- Nails/Screws - For assembling the frame and attaching sheathing.
- Sheathing - Plywood or OSB (Oriented Strand Board) for covering the frame.
- House Wrap (optional) - To protect against moisture.
- Construction Adhesive (optional) - For added rigidity and strength.
Safety Equipment
- Safety Glasses - To protect your eyes from flying debris.
- Ear Protection - Especially when using loud power tools.
- Gloves - To protect your hands from splinters and cuts.
- Dust Mask or Respirator - When cutting wood or handling insulating materials.
Step-by-step Guide to Shed Wall Framing
Step-by-step Guide to Shed Wall Framing
Start by cleaning the shed floor. Measure and mark 3.5 inches from the edge at each corner of the floor. Ensure that the distance between the marks corresponds to the wall layout on your shed plan, which should be 7 inches narrower than the shed’s total width. Use a chalk line to mark these measurements on the floor to outline where the walls will be.
Measure and cut the top and bottom plates for the walls according to your shed plans. Remember, only cut two plates for each wall at this stage. Align these plates on the floor with the marks you've made, ensuring the ends of the plates are flush and corners meet correctly.
Lay the wall plates flat with their edges up. Start marking for the wall studs every 16 inches on center, starting at 16 and three-quarters inches from the end. Mark an X on the side where each stud will be placed. For doorway frames, mark the locations for the king and trimmer studs, labeling them with a 'K' for king studs and a 'T' for trimmer studs.
Cut the wall studs to the required length as per your shed plans. If you are using pre-cut studs, align them between the top and bottom plates. Ensure the crown (slight arch) of each stud is facing the same direction. Nail the studs to the plates at each marked position using two nails per connection.
Construct the door header by cutting two header boards and a piece of O.S.B. to length as per your plan. Sandwich the O.S.B. between the header boards, ensuring they are flush and nail them together.
Construct the door header by cutting two header boards and a piece of O.S.B. to length as per your plan. Sandwich the O.S.B. between the header boards, ensuring they are flush and nail them together.
Clear and clean the floor again. Start standing the walls, beginning with one of the longer walls. Align it with the floor markings and attach it securely to the floor using nails every 16 inches into the floor joists. Proceed with the remaining walls, ensuring each corner is flush and nailed together securely.
After all the walls are erected, add the double top plates to tie the walls together and strengthen the structure. Start with the shorter walls and then install the top plates on the longer walls, overlapping at the corners for added stability. Nail them down every 16 inches on center.
Common Framing Mistakes to Avoid
Common Framing Mistakes to Avoid
A strong shed requires a solid foundation to prevent damage from sitting on bare ground, which can lead to rot. For flooring, here are the suitable materials you can choose from:
Always check that the corners of your framed walls are 90 degrees using a framing square. An out-of-square frame can lead to complications with roofing, siding, and door installation.
Ensure that the center of each stud is exactly 16 inches or 24 inches from the next, depending on your design. Inconsistent spacing can affect the structural integrity and the fitting of drywall or exterior sheathing.
All studs have a natural curve or crown; failing to align these in the same direction can result in wavy walls.
When cutting studs, headers, and other components, precise measurements are crucial. Overcutting or undercutting can compromise the structural integrity of the shed.
Using too few nails or screws can weaken connections, while too many can split the wood. Ensure you are using the correct size and type of fastener for the job.
Always measure twice before cutting or assembling parts. Small measurement errors can accumulate and cause significant issues later in the construction process.
Not applying a weather-resistant barrier before installing the siding can lead to moisture problems inside the shed.
It's essential to check local building regulations and codes before starting your project. Ignorance can lead to fines or a requirement to modify or dismantle your shed after construction.
What is the best type of wood for framing a shed?
What is the best type of wood for framing a shed?
The best type of wood for framing a shed is pressure-treated lumber, as it is resistant to rot and insect infestations. Other options include cedar or redwood, which are naturally resistant to decay.
Framing shed walls is a rewarding project that enhances your property's functionality and aesthetic. By following these guidelines, you ensure your shed will stand strong for years to come, providing storage space and adding value to your home.